Have You Done A Self-Movement Screen?
Have you ever tried to do a test of your own functional movement? Good luck.
Maybe you're trying to figure out how to do a movement screen on a client using Zoom on a small laptop screen? How’s that working for you?
Our body’s ability to be both stable AND move at the same time is quite a trick! How objective do you think your movement assessment measures can be as you squint to see your client as closely as possible from afar? You’re likely looking at your client in a poorly lit room and whose image freezes at unpredictable times. Argh! What can you do?
Try showing your clients how to do a self movement screen. Avoid hauling your testing equipment across town. Forget about clearing a huge space in your facility. Teach your client how to test themselves without you needing to be right beside them. It’s actually really simple!
The self movement screen is a modified version of Gray Cook and Lee Burton’s Functional Movement Screen™. It takes a look at basic movement patterns that every body should own.
And if you don’t own these easy looking movements? Well then this is where you need to start - with yourself and with your clients. Keep in mind that these screens are not meant for anyone who is recovering from injury or who has pain. If this is you, or if this is your client, seek professional advice.
"First move well, then move often." ~ Gray Cook
Try this out for yourself. You’ll need only a minimal warm up or even no warm up at all. A 10-minute walk, a few flights of stairs, 20 marching steps with high knees or 20 jumping jacks will be fine.
You won’t need much in the way of equipment. Find a standard doorway 32 to 36 inches wide. Grab some painters tape or masking tape. Get a broomstick or dowel about four feet long.
This test is best to do before your workout and only if you aren’t sore from exercising a day or two before.
The exercises in the test are:
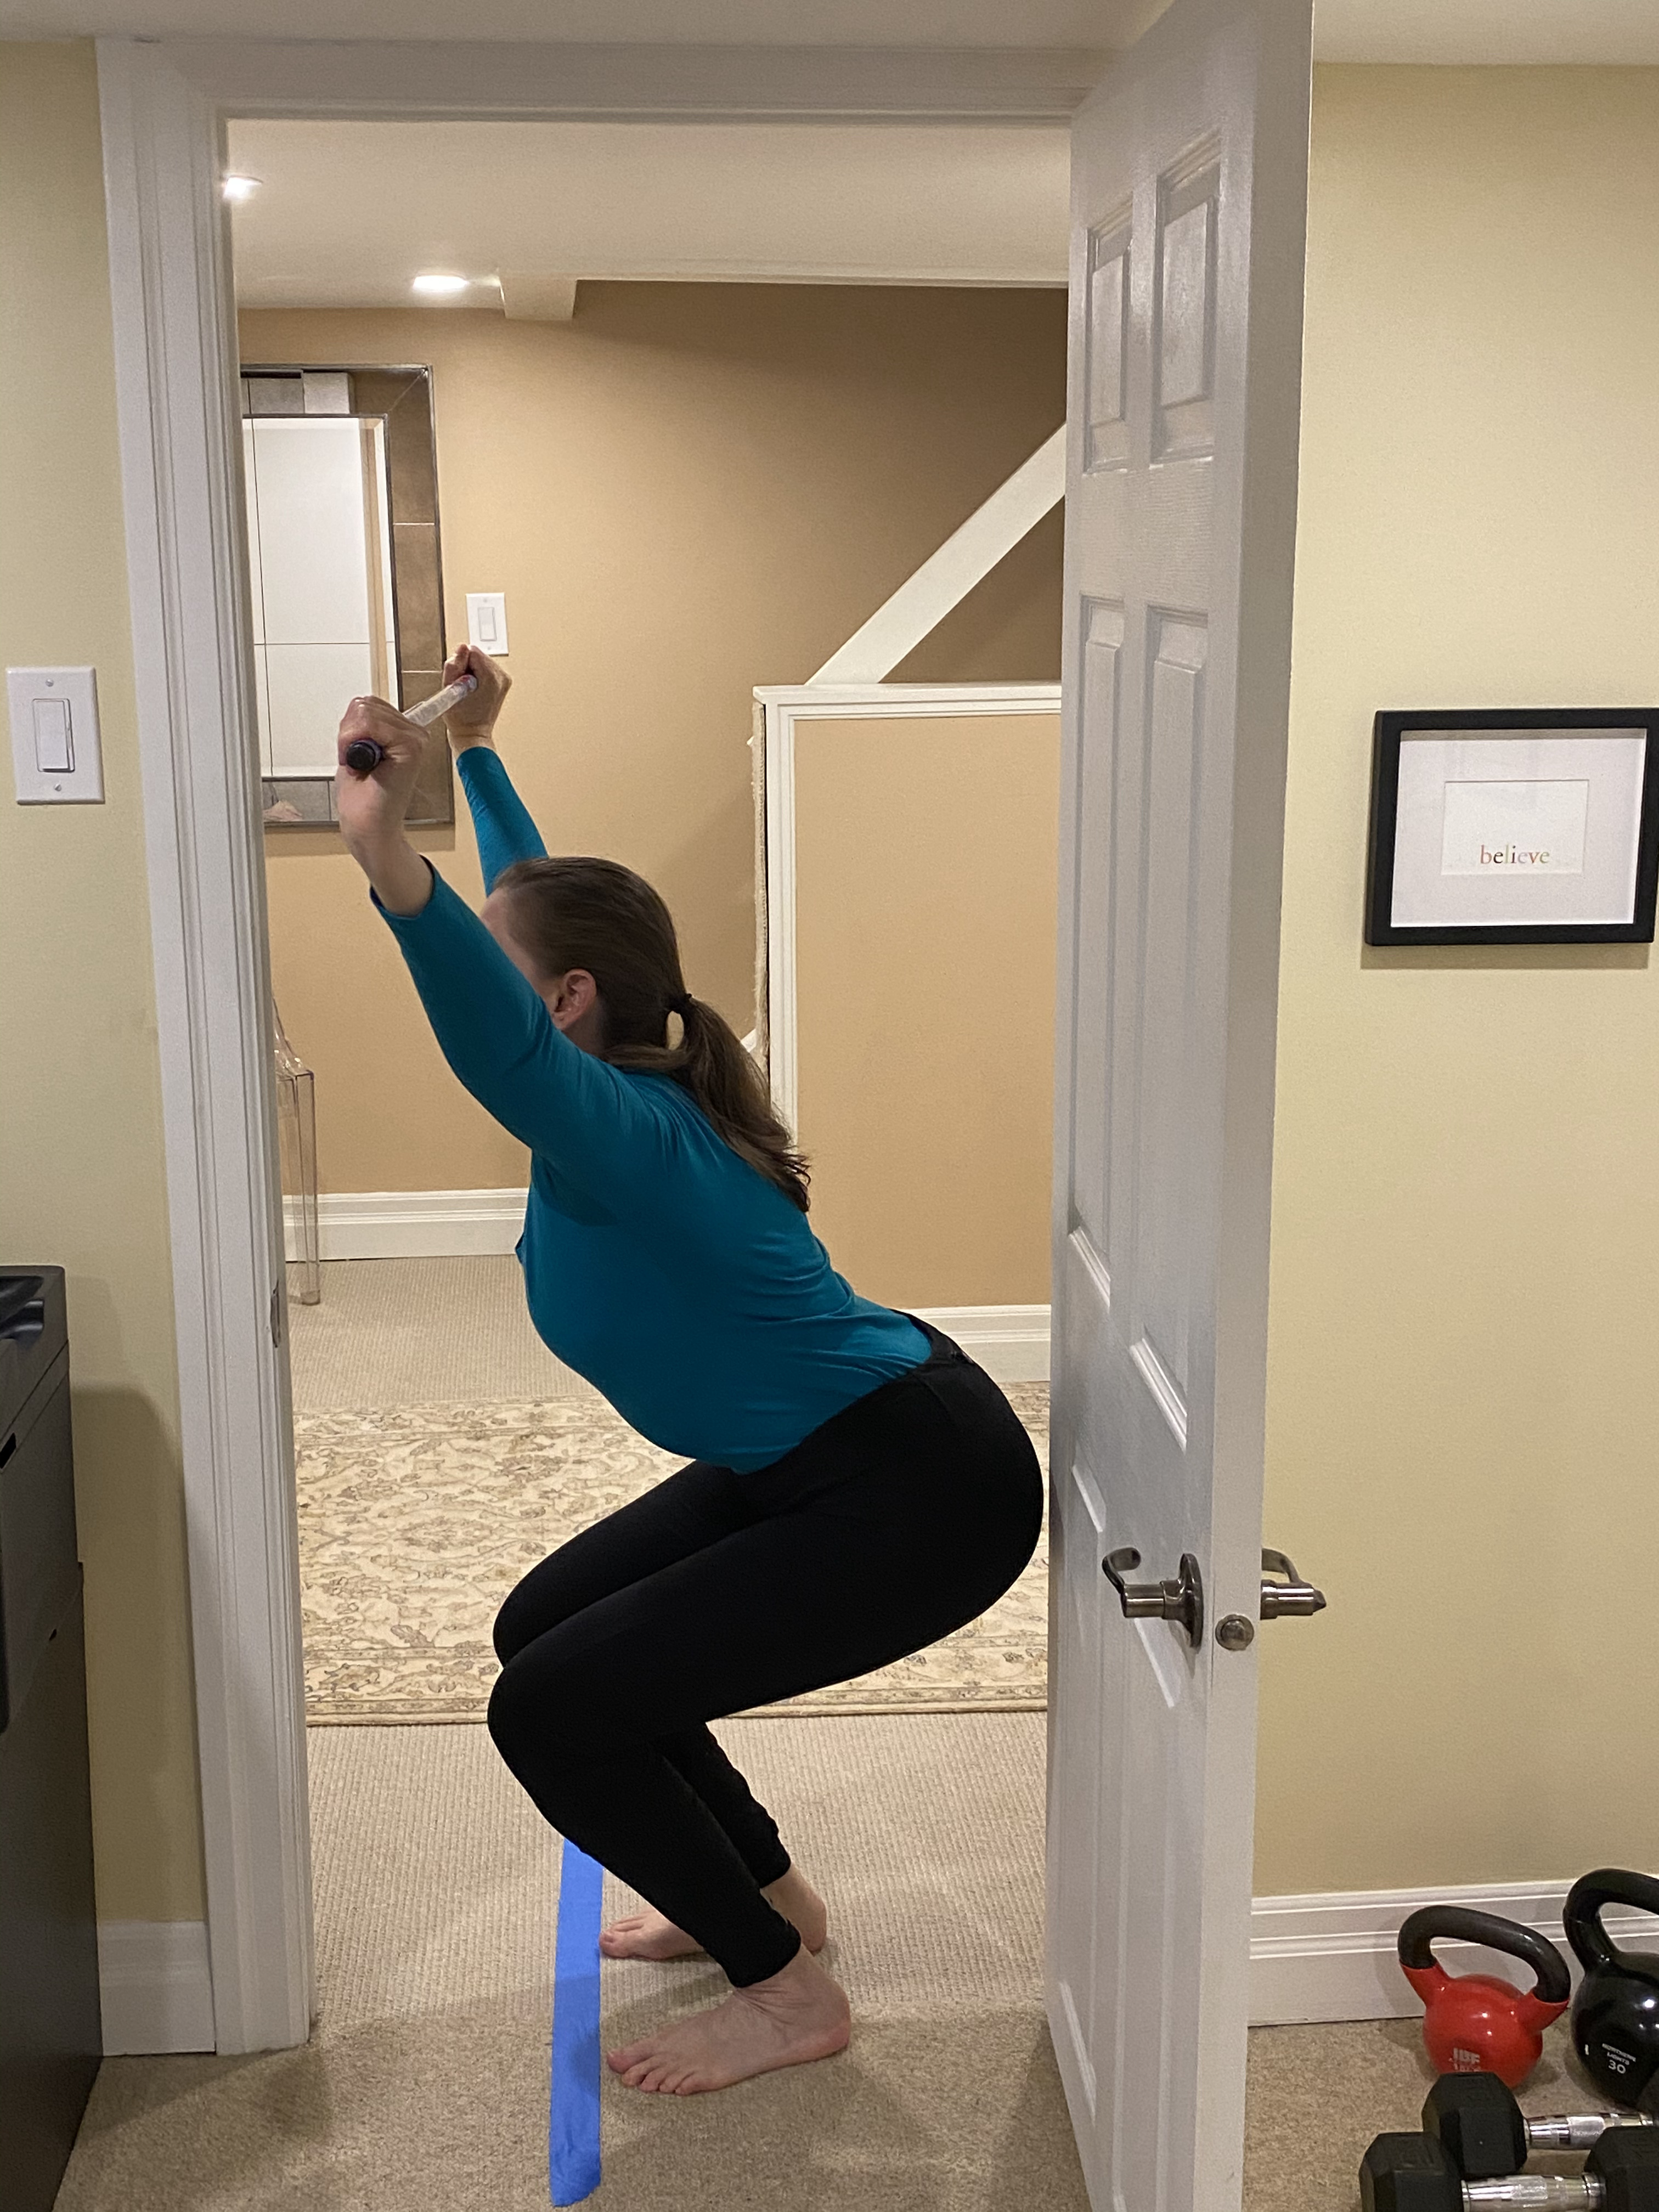
1. Deep squat
- tests the asymmetry of the squat
- examines mobility of the major joints - ankles, knees, hips and shoulders
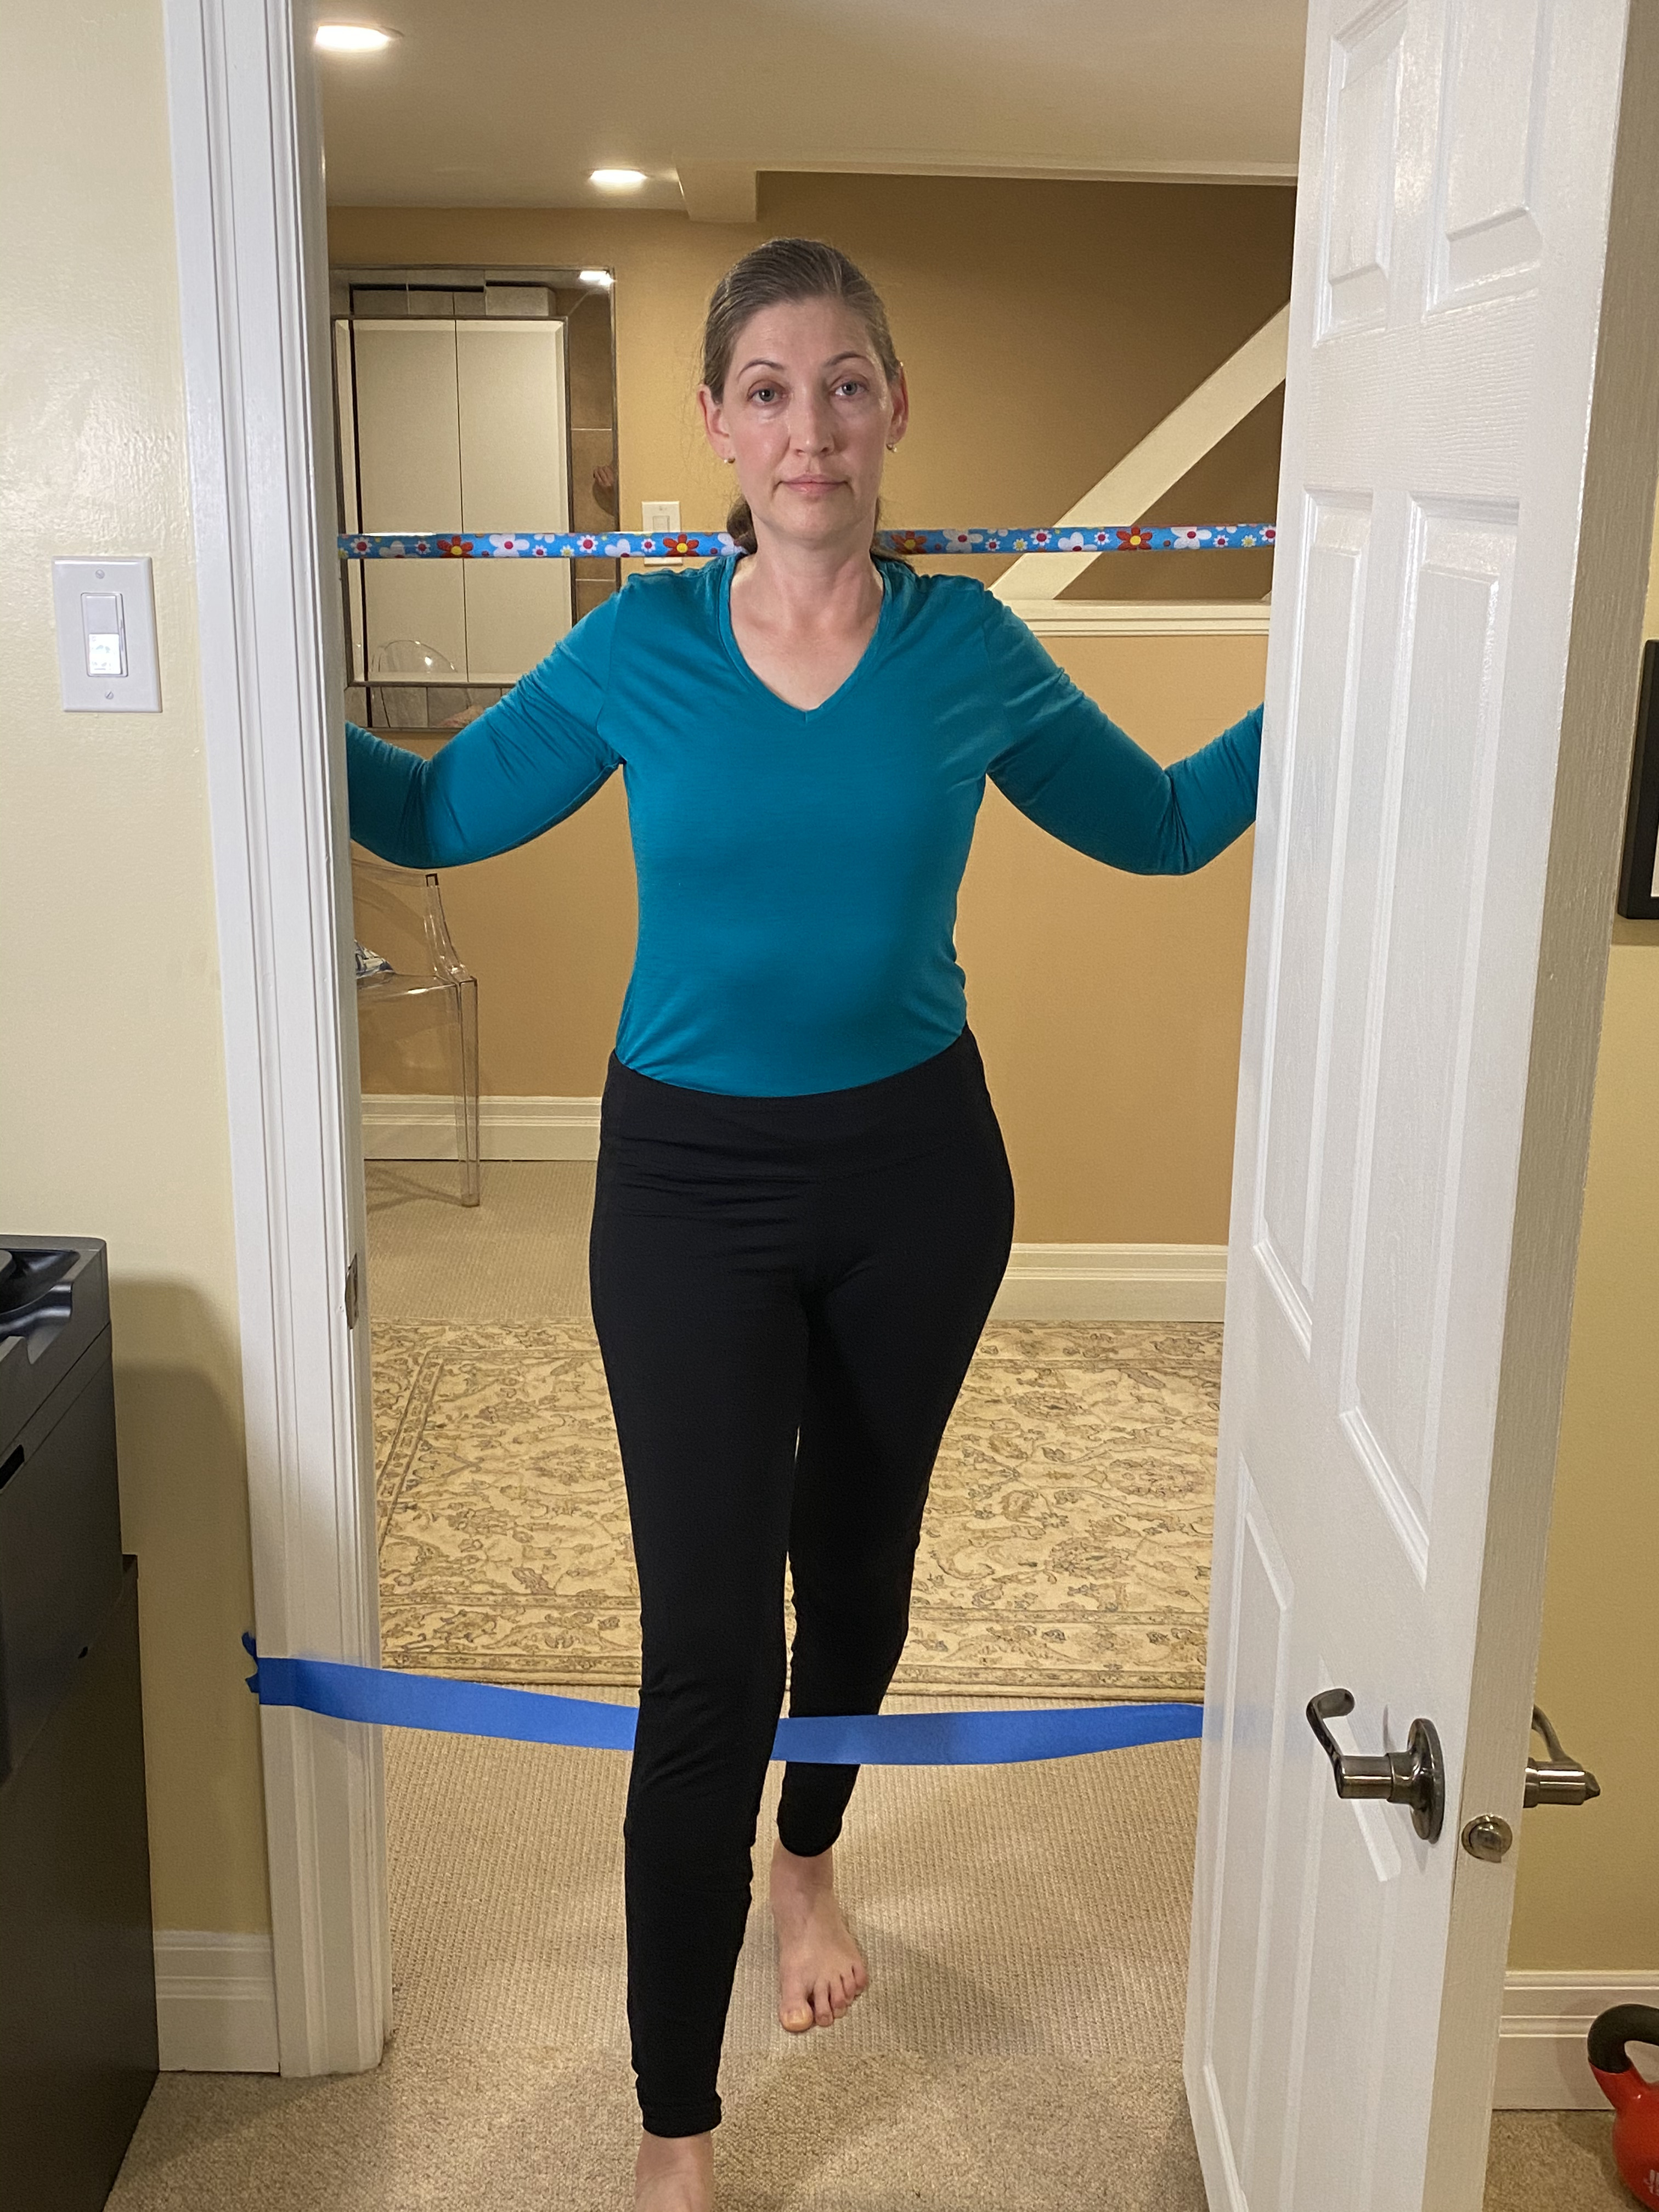
2. Hurdle step
- performed on the left and right sides
- looks at the asymmetry of balancing during stepping
- evaluates the stability of the support side of the body and the mobility of the other side of the body
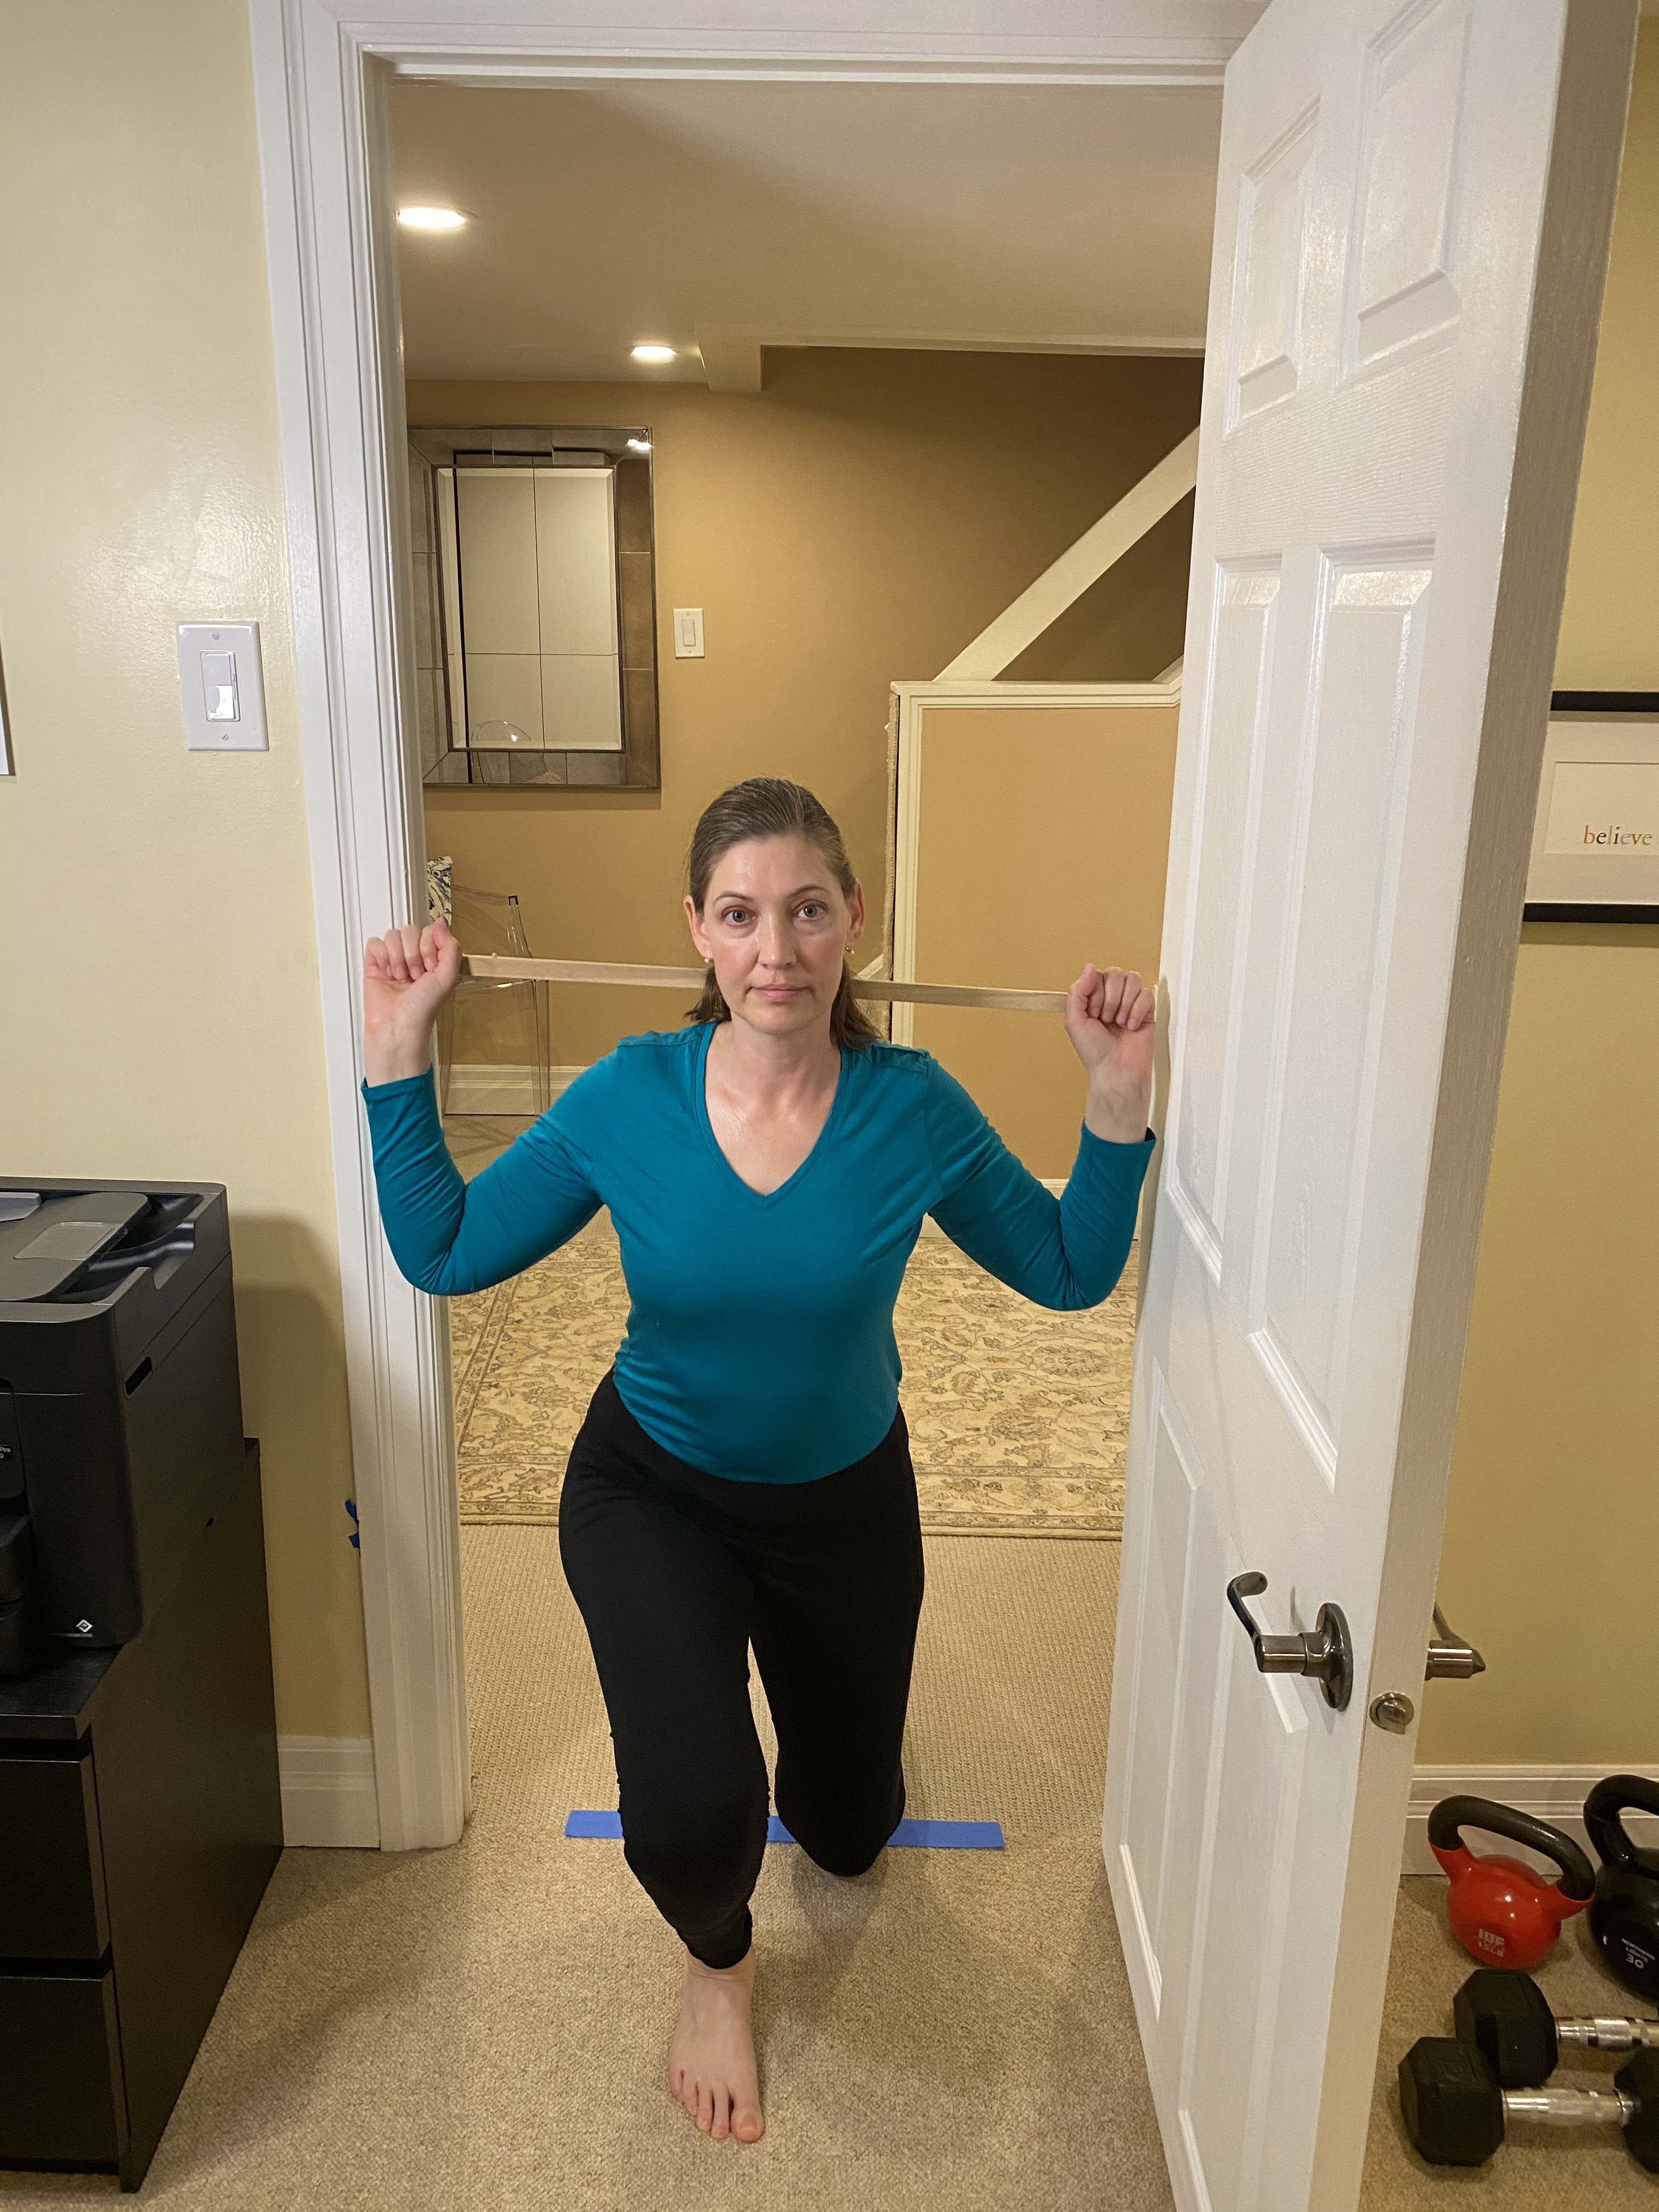
3. In-line lunge
- completed on both sides
- examines the asymmetry of the lunge and also tests spine stability at the same time as evaluating the opposite movements of hip flexion and hip extension
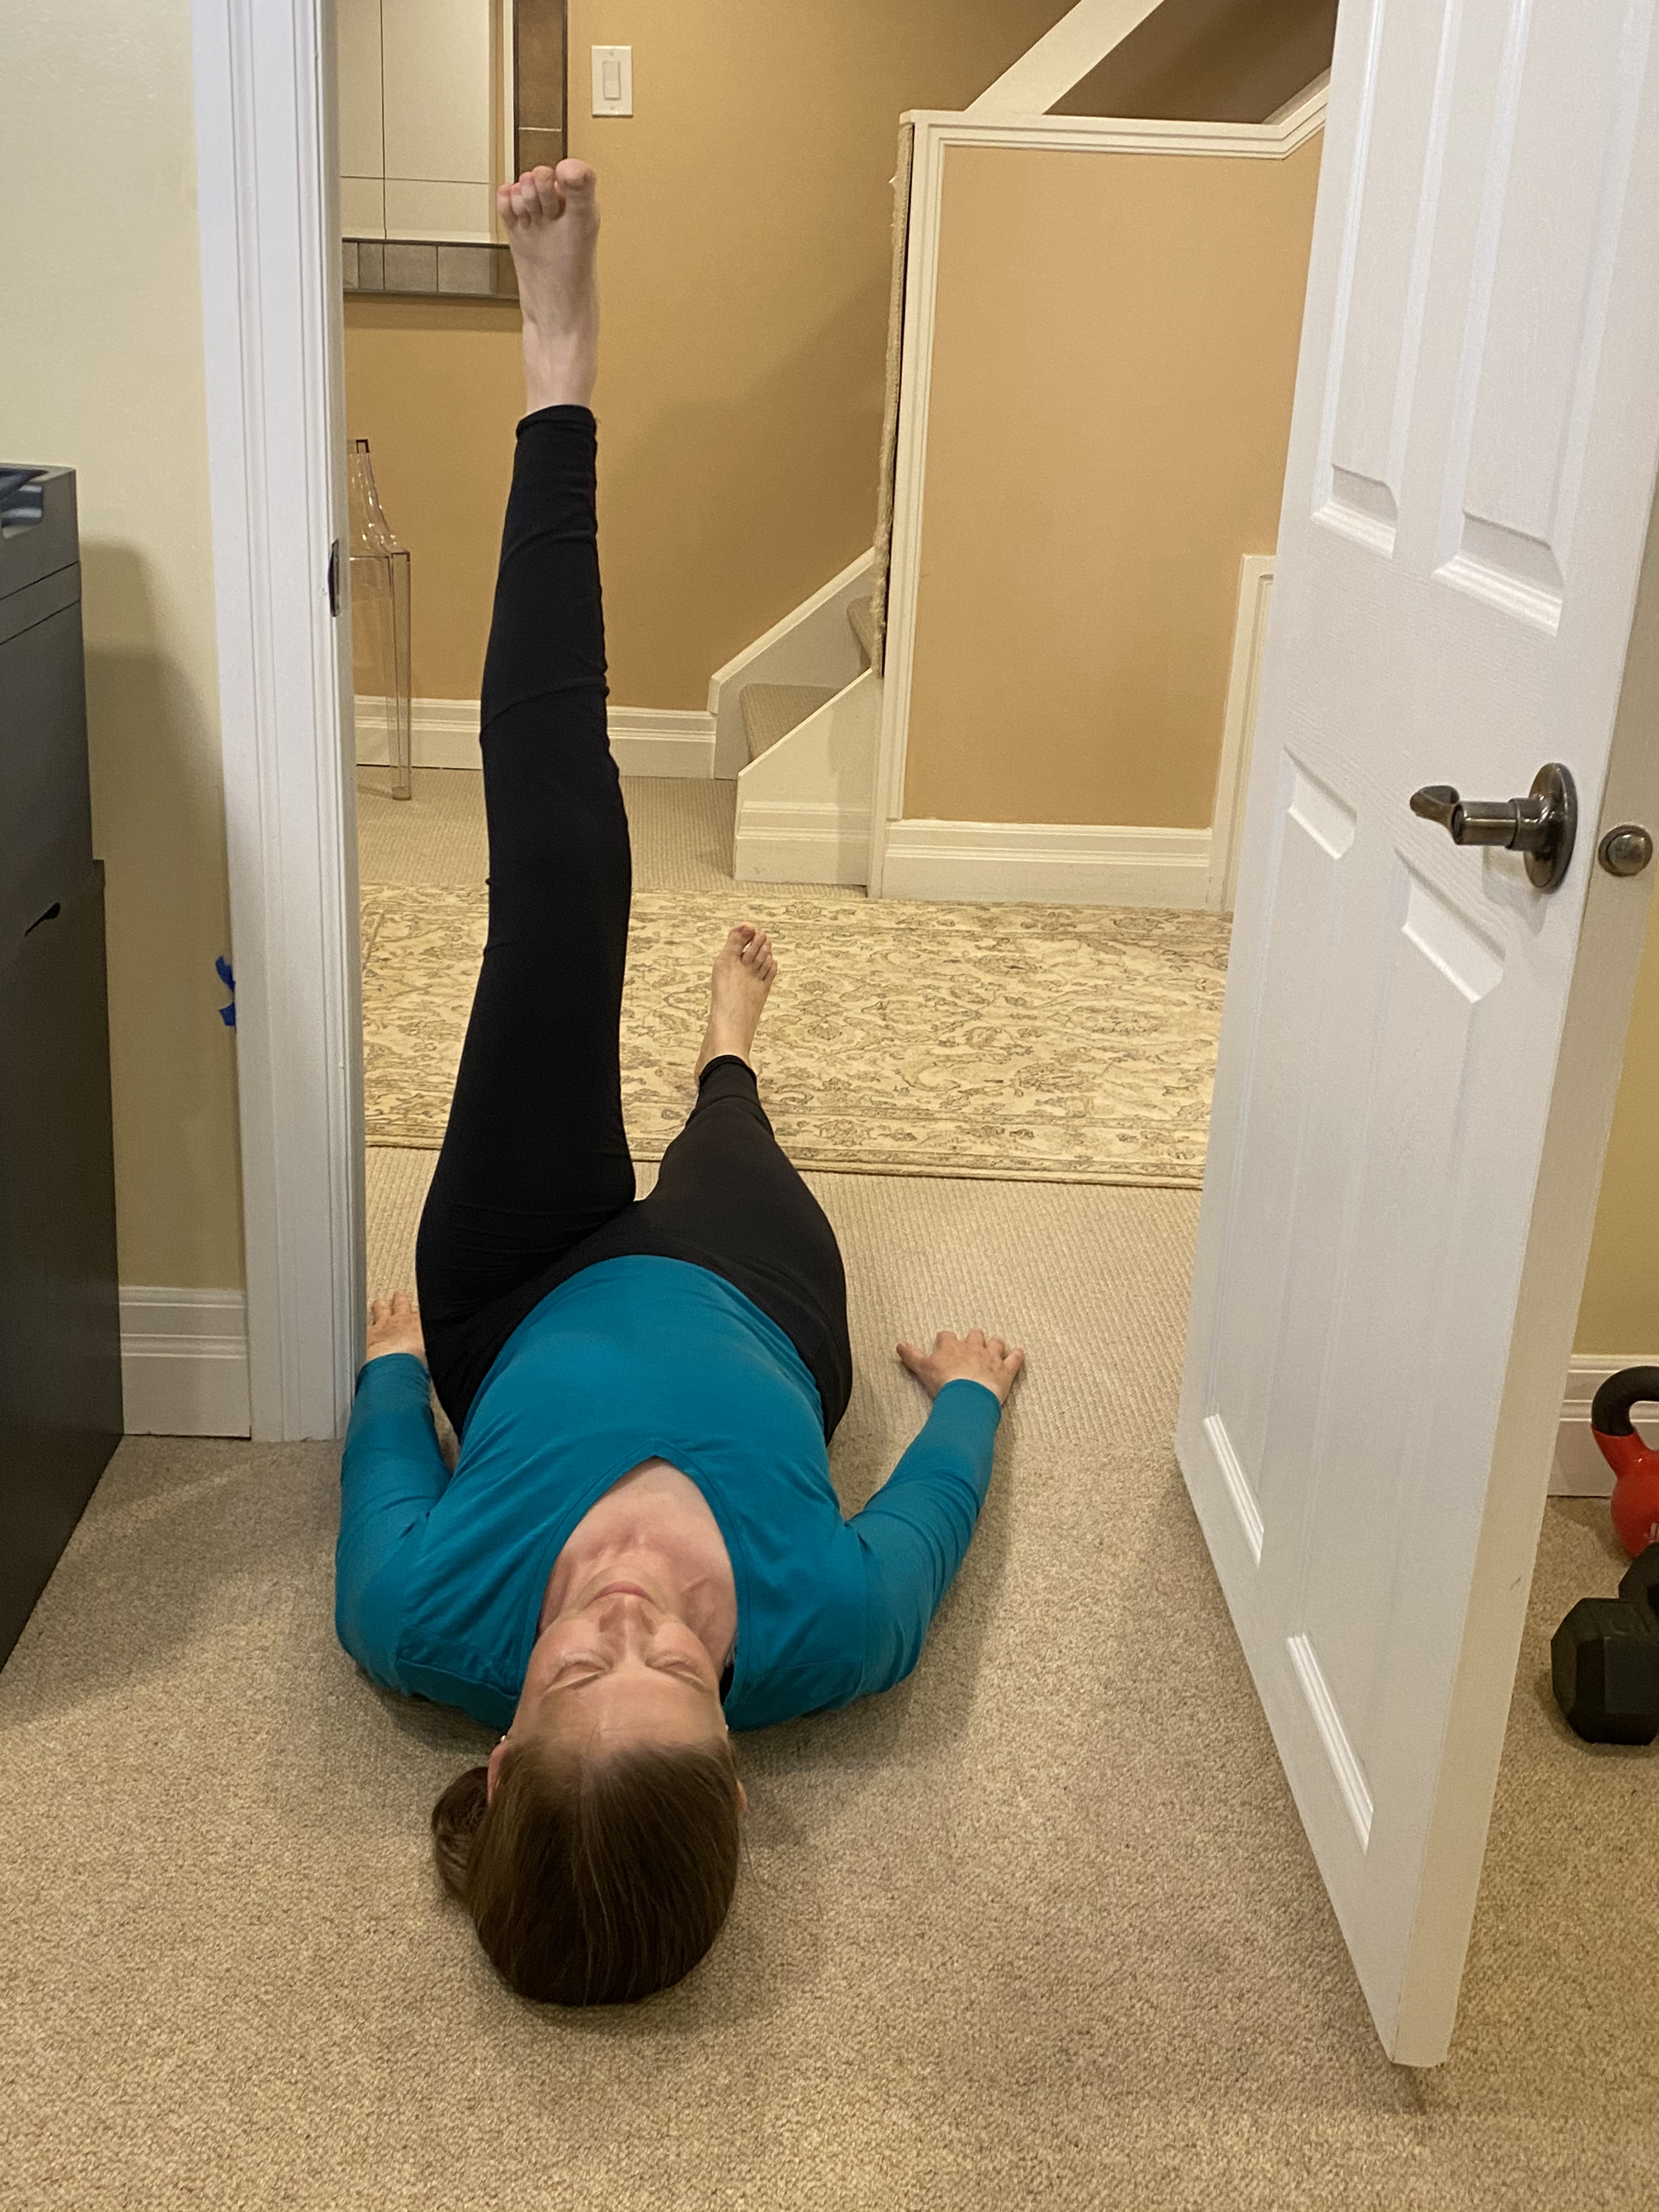
4. Active straight leg raise
- done with each leg
- tests the asymmetry of the leg raise while evaluating core stability
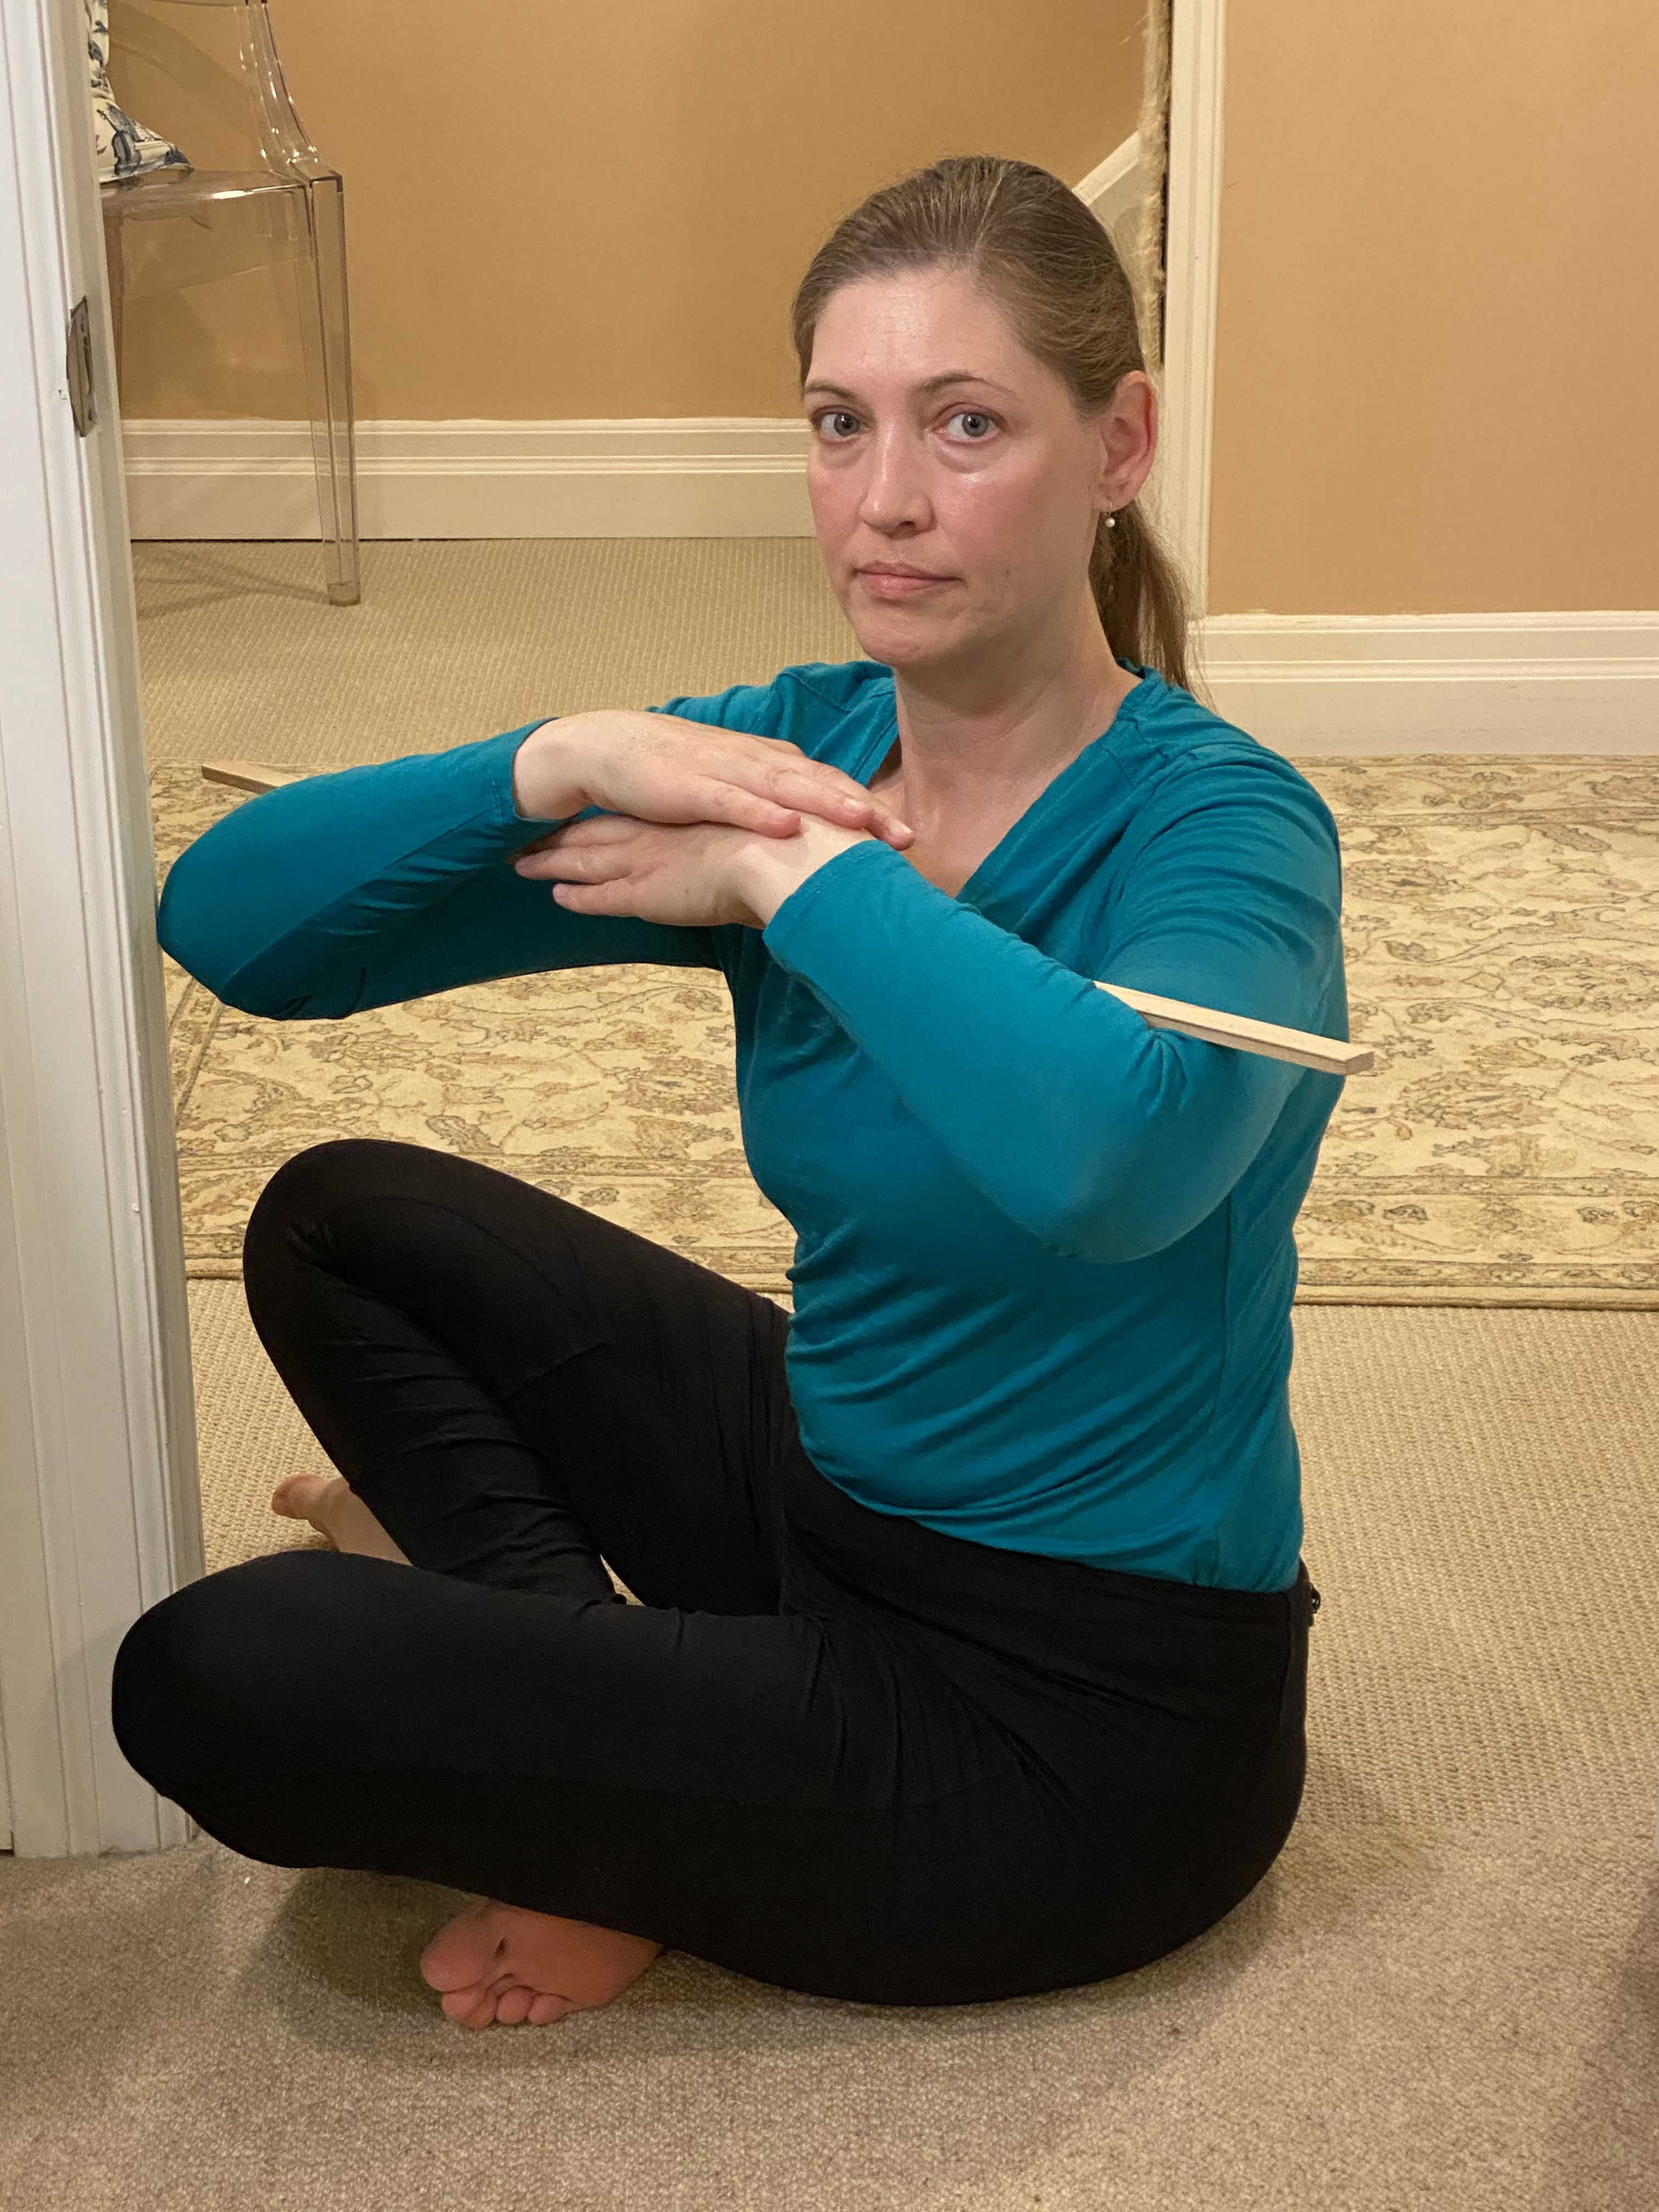
5. Seated rotation
- move to the left and the right
- observes how the body can rotate to either side while being seated with the legs crossed in front
Give it a try!
Scoring the test is super simple. Can you complete the test? Pass. Having trouble? Well, we’ve just found you an opportunity to improve! If you have any pain or discomfort with the movements, it’s recommended that you have the sore area assessed by a healthcare professional.
"The movement screen won’t change injury rates, it changes the way you train." ~ Gray Cook
Watch for a future post with corrective exercise recommendations. We know that you AND your clients want to get a ‘pass’ on all five tests above!
Become a Guest Blogger!
We are now accepting applications for new Guest Bloggers! We encourage our fellow bloggers or aspiring bloggers to share their knowledge with the First Line Education community! If interested, please click the link below.

